
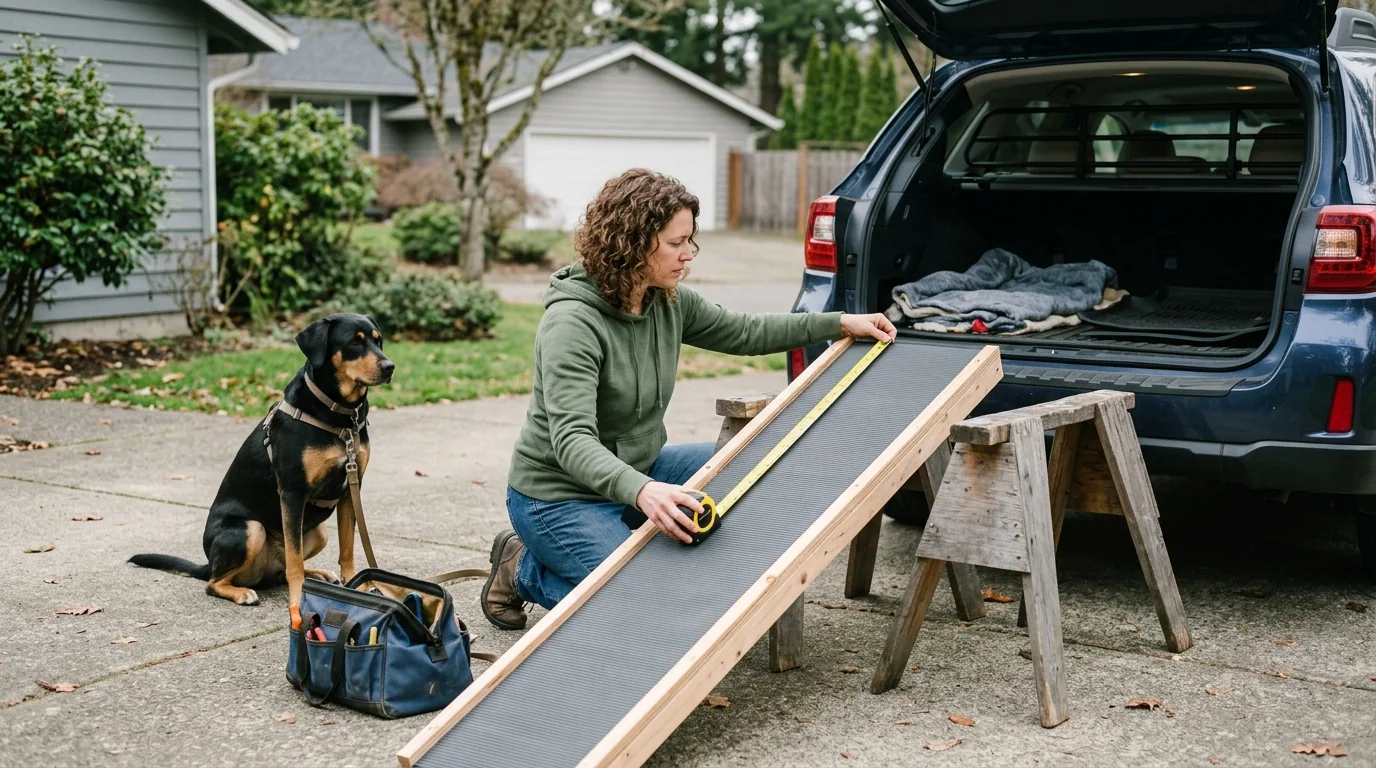
Measure Your Car and Plan the Ramp
Measure from the ground to the cargo floor or tailgate where your dog will enter, then measure the clear width of that opening so the ramp will fit without resting on a latch or trim. Plan for a ramp long enough to create a gentle slope: a short board may reach the vehicle, but it can still be too steep for your dog to use comfortably.
How to use the dog ramp
Choose Materials That Can Support Your Dog
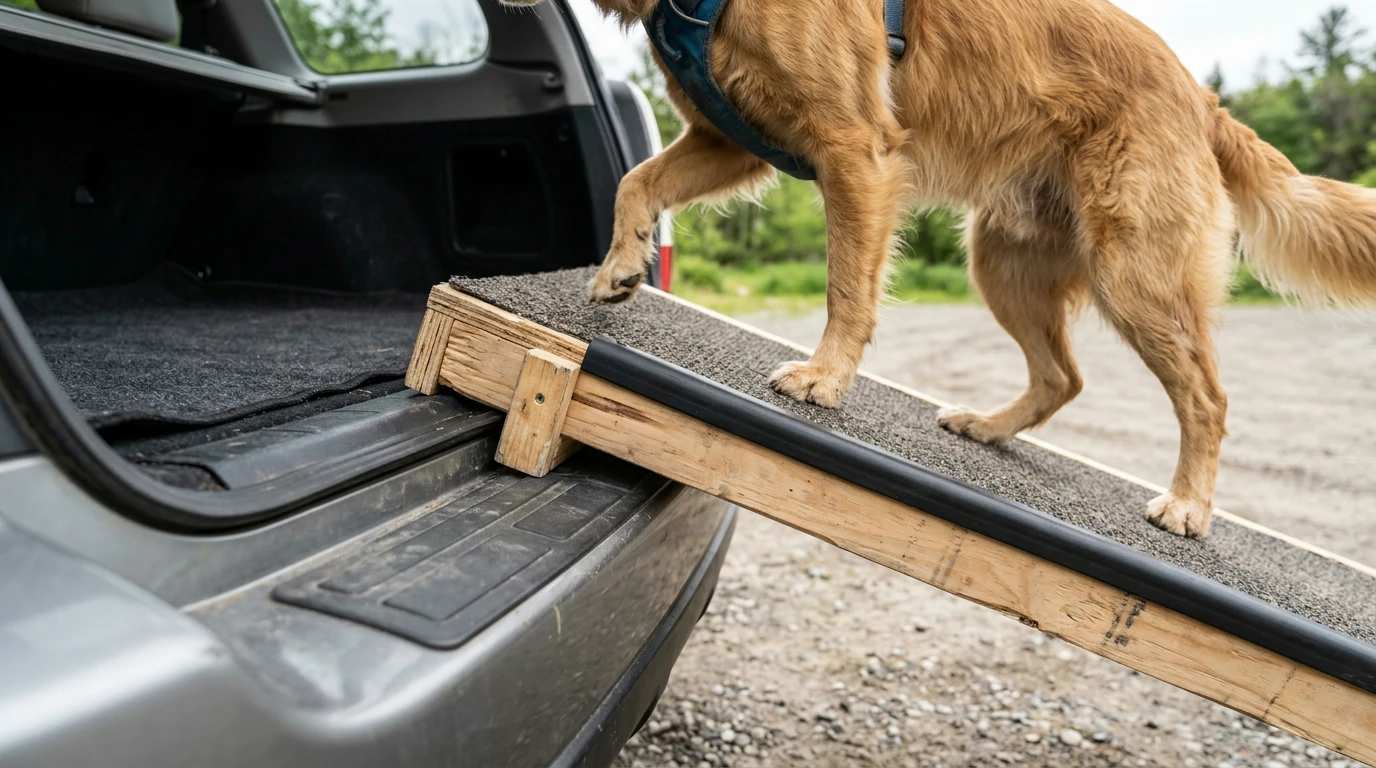
For a simple DIY ramp, you’ll need a sturdy board or plywood panel, wood for edge rails, a non-slip walking surface, appropriate fasteners, and a way to secure the upper end while it’s in use. Select the board thickness and any underside bracing for your dog’s weight and the ramp’s span; if the board bends when loaded, strengthen it or use a different design.
Build a Grippy Walking Surface
Cut the panel to your measured length and width, smooth every edge, and fasten low rails along the sides to help your dog stay centered. Attach outdoor carpet or another durable, non-slip covering securely across the walking area, keeping staples or screw heads out of the path of your dog’s paws.
Set It Up and Test It Safely
Place the ramp on firm, level ground and secure its upper end so it cannot slide off the vehicle; add non-slip material under the lower end if it shifts on pavement. Before asking your dog to climb, press and walk-test the full length for movement or flex, and never rely on someone holding an unsecured ramp as its only support.
Help Your Dog Get Comfortable
Let your dog explore the ramp while it’s flat on the ground, then practice on a low incline with treats and a leash before moving to the car. Keep early sessions short, supervise every climb, and inspect the covering, fasteners, and support points regularly; if you’d rather compare a ready-made option, see our guide to safer SUV and truck loading, which features our “Tailgate” Car Dog Ramp.
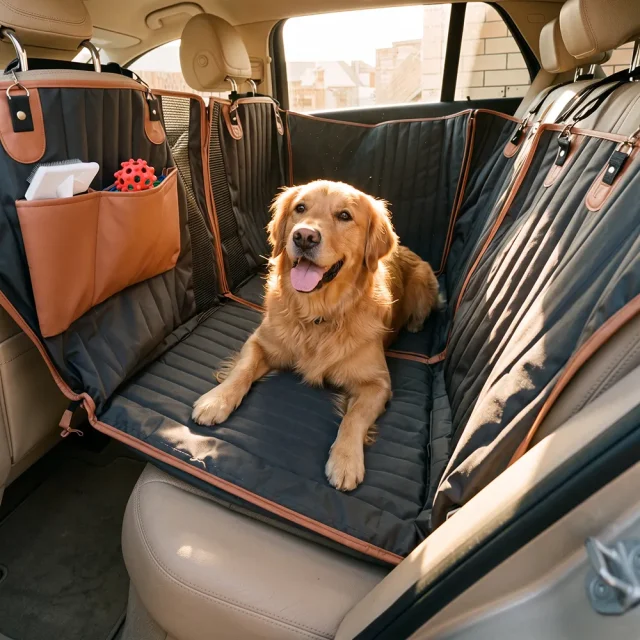
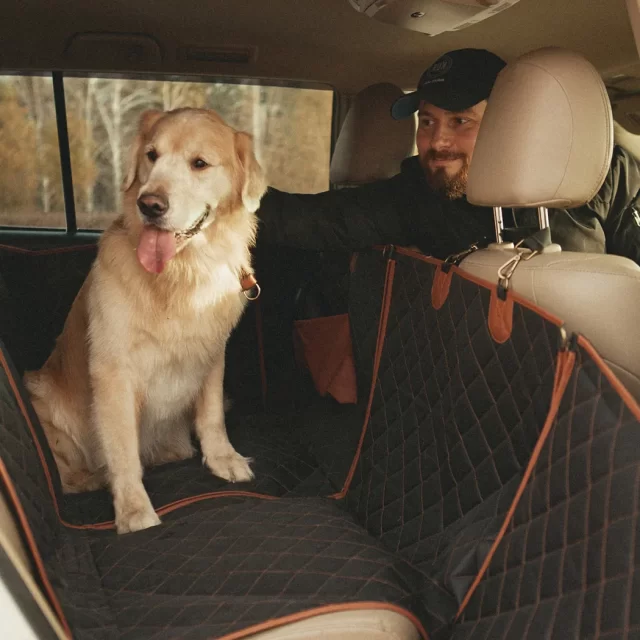
The Travel Buddy Mk. II Dog Hammock works alongside the ramp and keeps the back seat covered, so shed dog fur lands on a washable surface instead of the car upholstery.
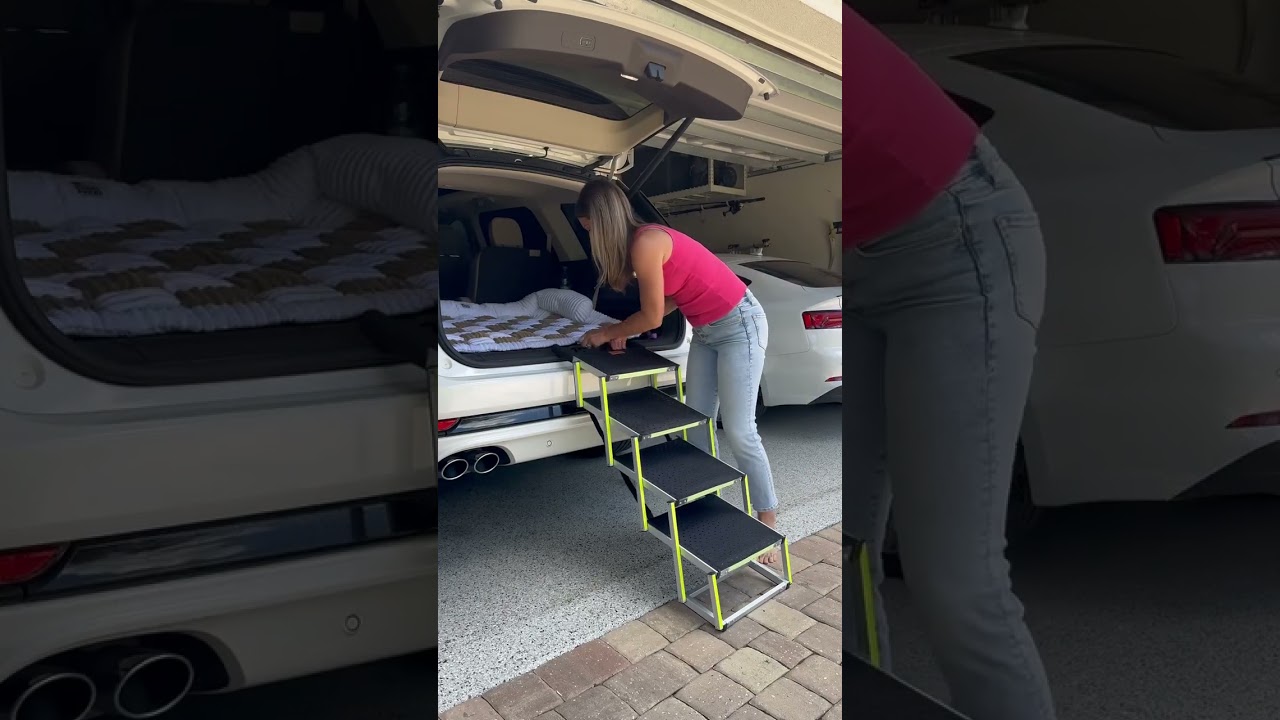
“Great car ramp!!!! It’s compact and easy to store in my sedan’s trunk. The anti-slip surface is excellent for rainy days, ensuring my dogs can climb safely!!!!”
FAQ
How to make a dog ramp for the car?
Measure the vehicle’s loading height and opening, build a supported panel with a grippy surface, and make sure both ends stay put during use. Test it under load before your dog tries it, then introduce the incline gradually rather than expecting an immediate climb.

Leave a comment